Waterphone
May 2023

I decided to build a musical instrument for the final project of a music class. I chose the waterphone because I wanted to make an instrument that could make strange sounds similar to what one might hear in Star Trek, Poltergeist, or other films. Some of the best examples I could find of the waterphone’s sounds were in this video and this video.
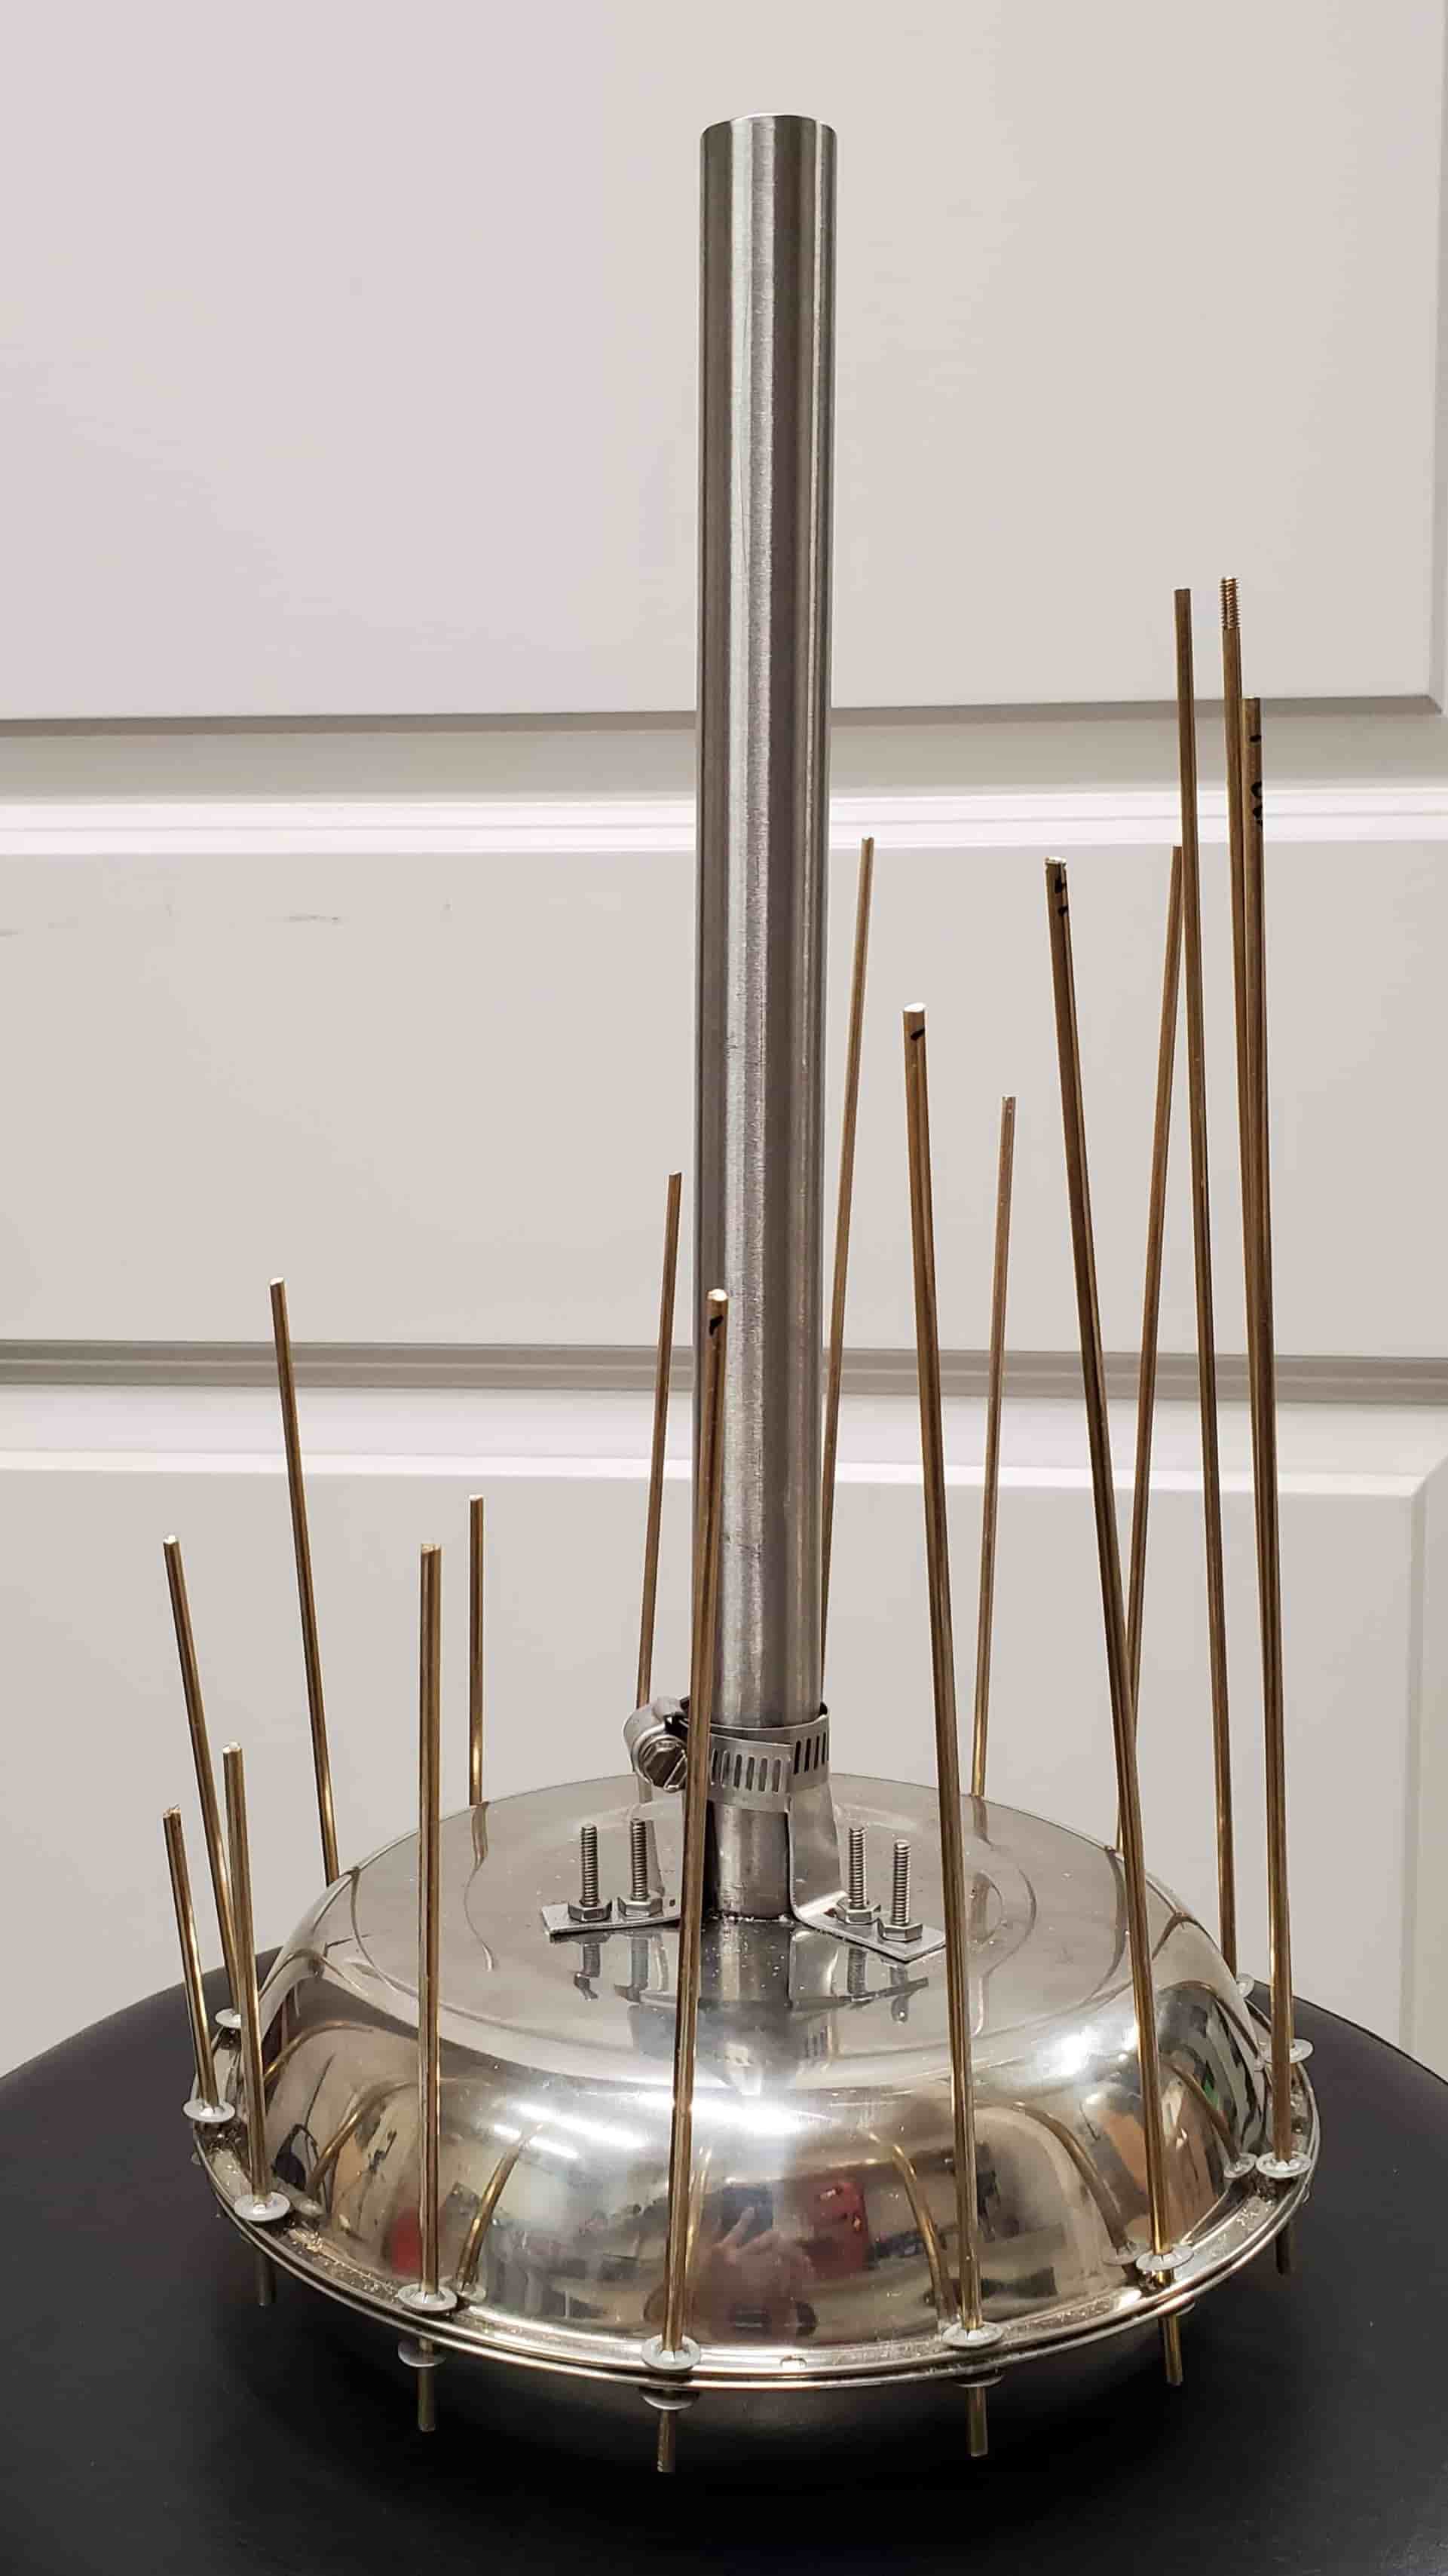
As for how the waterphone works, it consists of a resonating chamber at the bottom, with tonal rods arranged around its perimeter. The large tube in the center serves as a handle as well as a path through which to add or remove water from the resonating chamber. To play the instrument, usually a violin bow is rubbed against the rods or a superball mallet is struck against the rods or dragged along the bottom of the resonating chamber.
One of the first challenges of this project was keeping costs down. All the waterphones I found online were being sold for $350+ dollars, and I wanted to keep the total cost to below $100. This was challenging because the instrument used brass and stainless steel for acoustic reasons, and these materials weren’t cheap for a hobbyist budget like mine. Fortunately, I was able to frugally obtain most of the materials I needed on Amazon by buying stainless steel kitchen pans and a pack of thin ⅛” diameter brass rods. I was also able to obtain fasteners and a stainless steel tube for the handle for free by asking around MIT makerspaces. In the end, I only spent $40 on materials. I later calculated that if I had bought everything I needed to make the waterphone, it still only would have cost me $80.
However, I soon realized that the greatest challenge of this project was joining the brass rods to the stainless steel resonating chamber. All the waterphones I had seen used some form of welding or brazing, but I did not think I had sufficient experience to attempt those techniques in the limited time that I had. Moreover, I wanted to find an easier joining technique in case anyone else wanted to build their own waterphone from scratch in the future.

For this reason, I first attempted to solder the brass directly to the stainless steel. The solder would not stick. Seeing this, I wrapped some electrical wire around the brass and through a hole I had drilled in the stainless steel pans and soldered the wire to the brass rod. This allowed the wire to form a good bond with the brass rod and a mechanical connection with the stainless steel pan. This kept the rod attached to the pan, but the rod could still wiggle around. Unfortunately, this loose connection dampened the vibrations of the brass rod enough to prevent it from making a good sound.

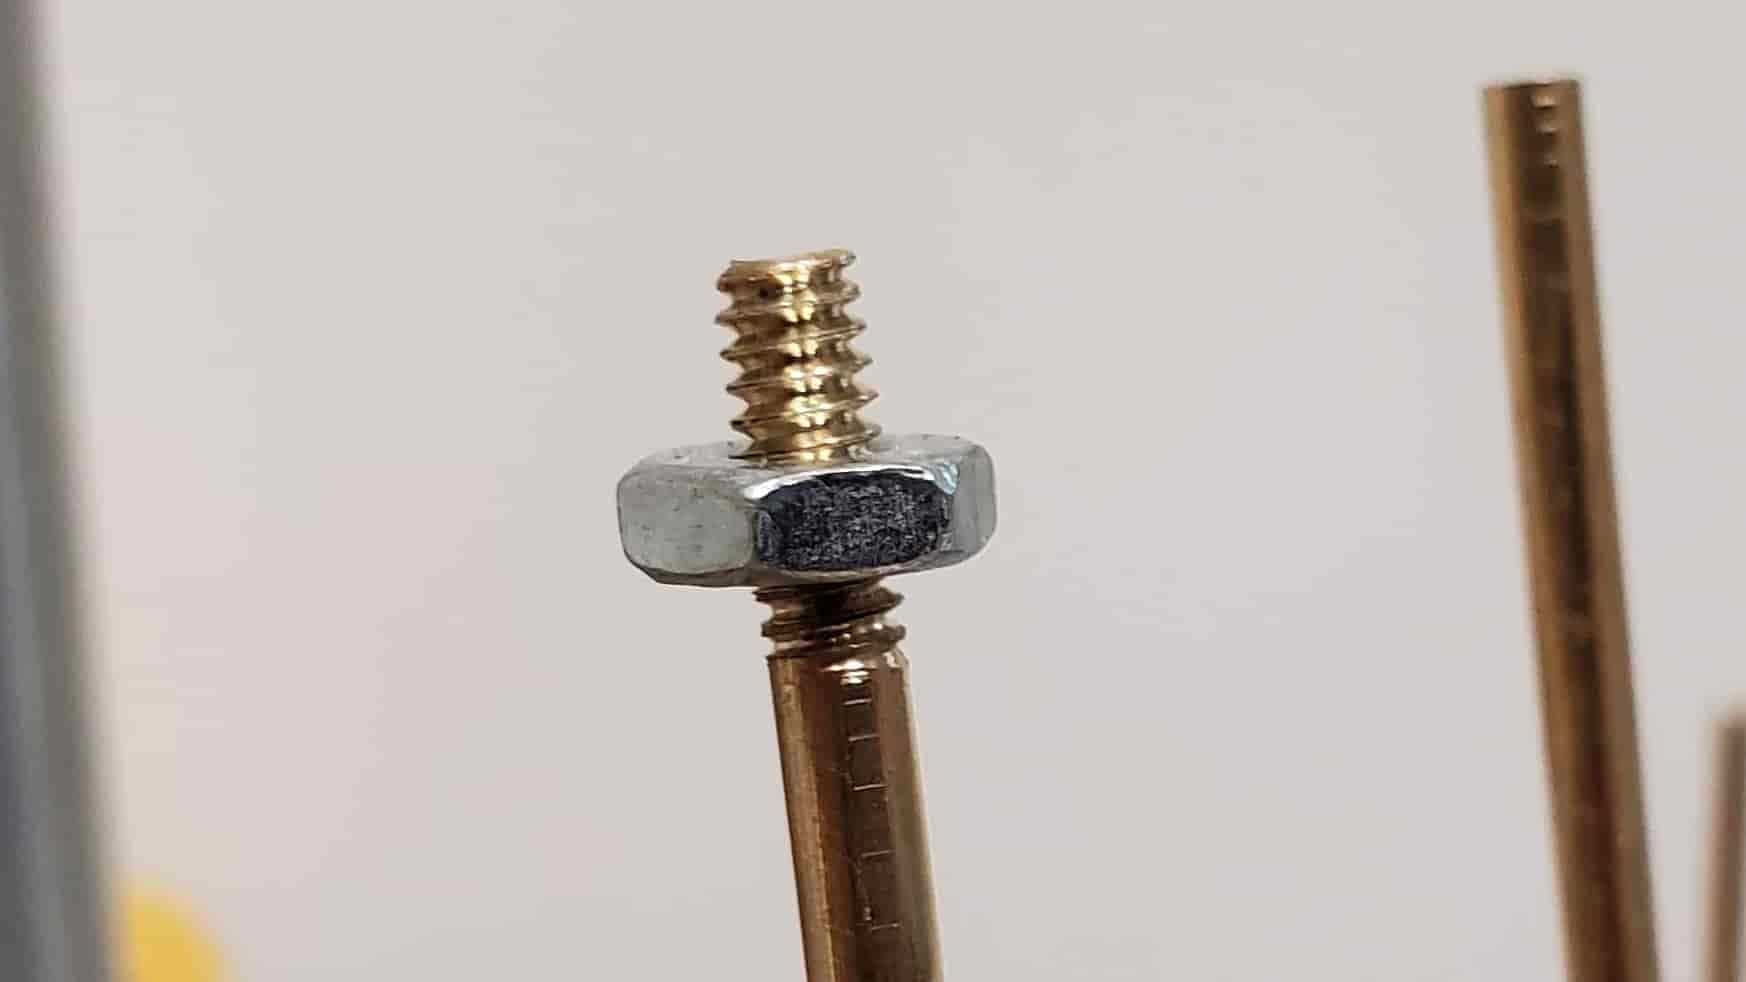
I then threaded one of the brass rods with a 6-32 die and confirmed that I could easily screw nuts onto it. However, there was not enough space for the nut near the stainless steel pans of the resonating chamber since the hole through which the brass rod passed was too close to the curved portions of the pans. I could have remedied this by making the threaded section of the brass rod longer, but I had another idea that I thought would be easier than manually threading all 16 of the brass rods.

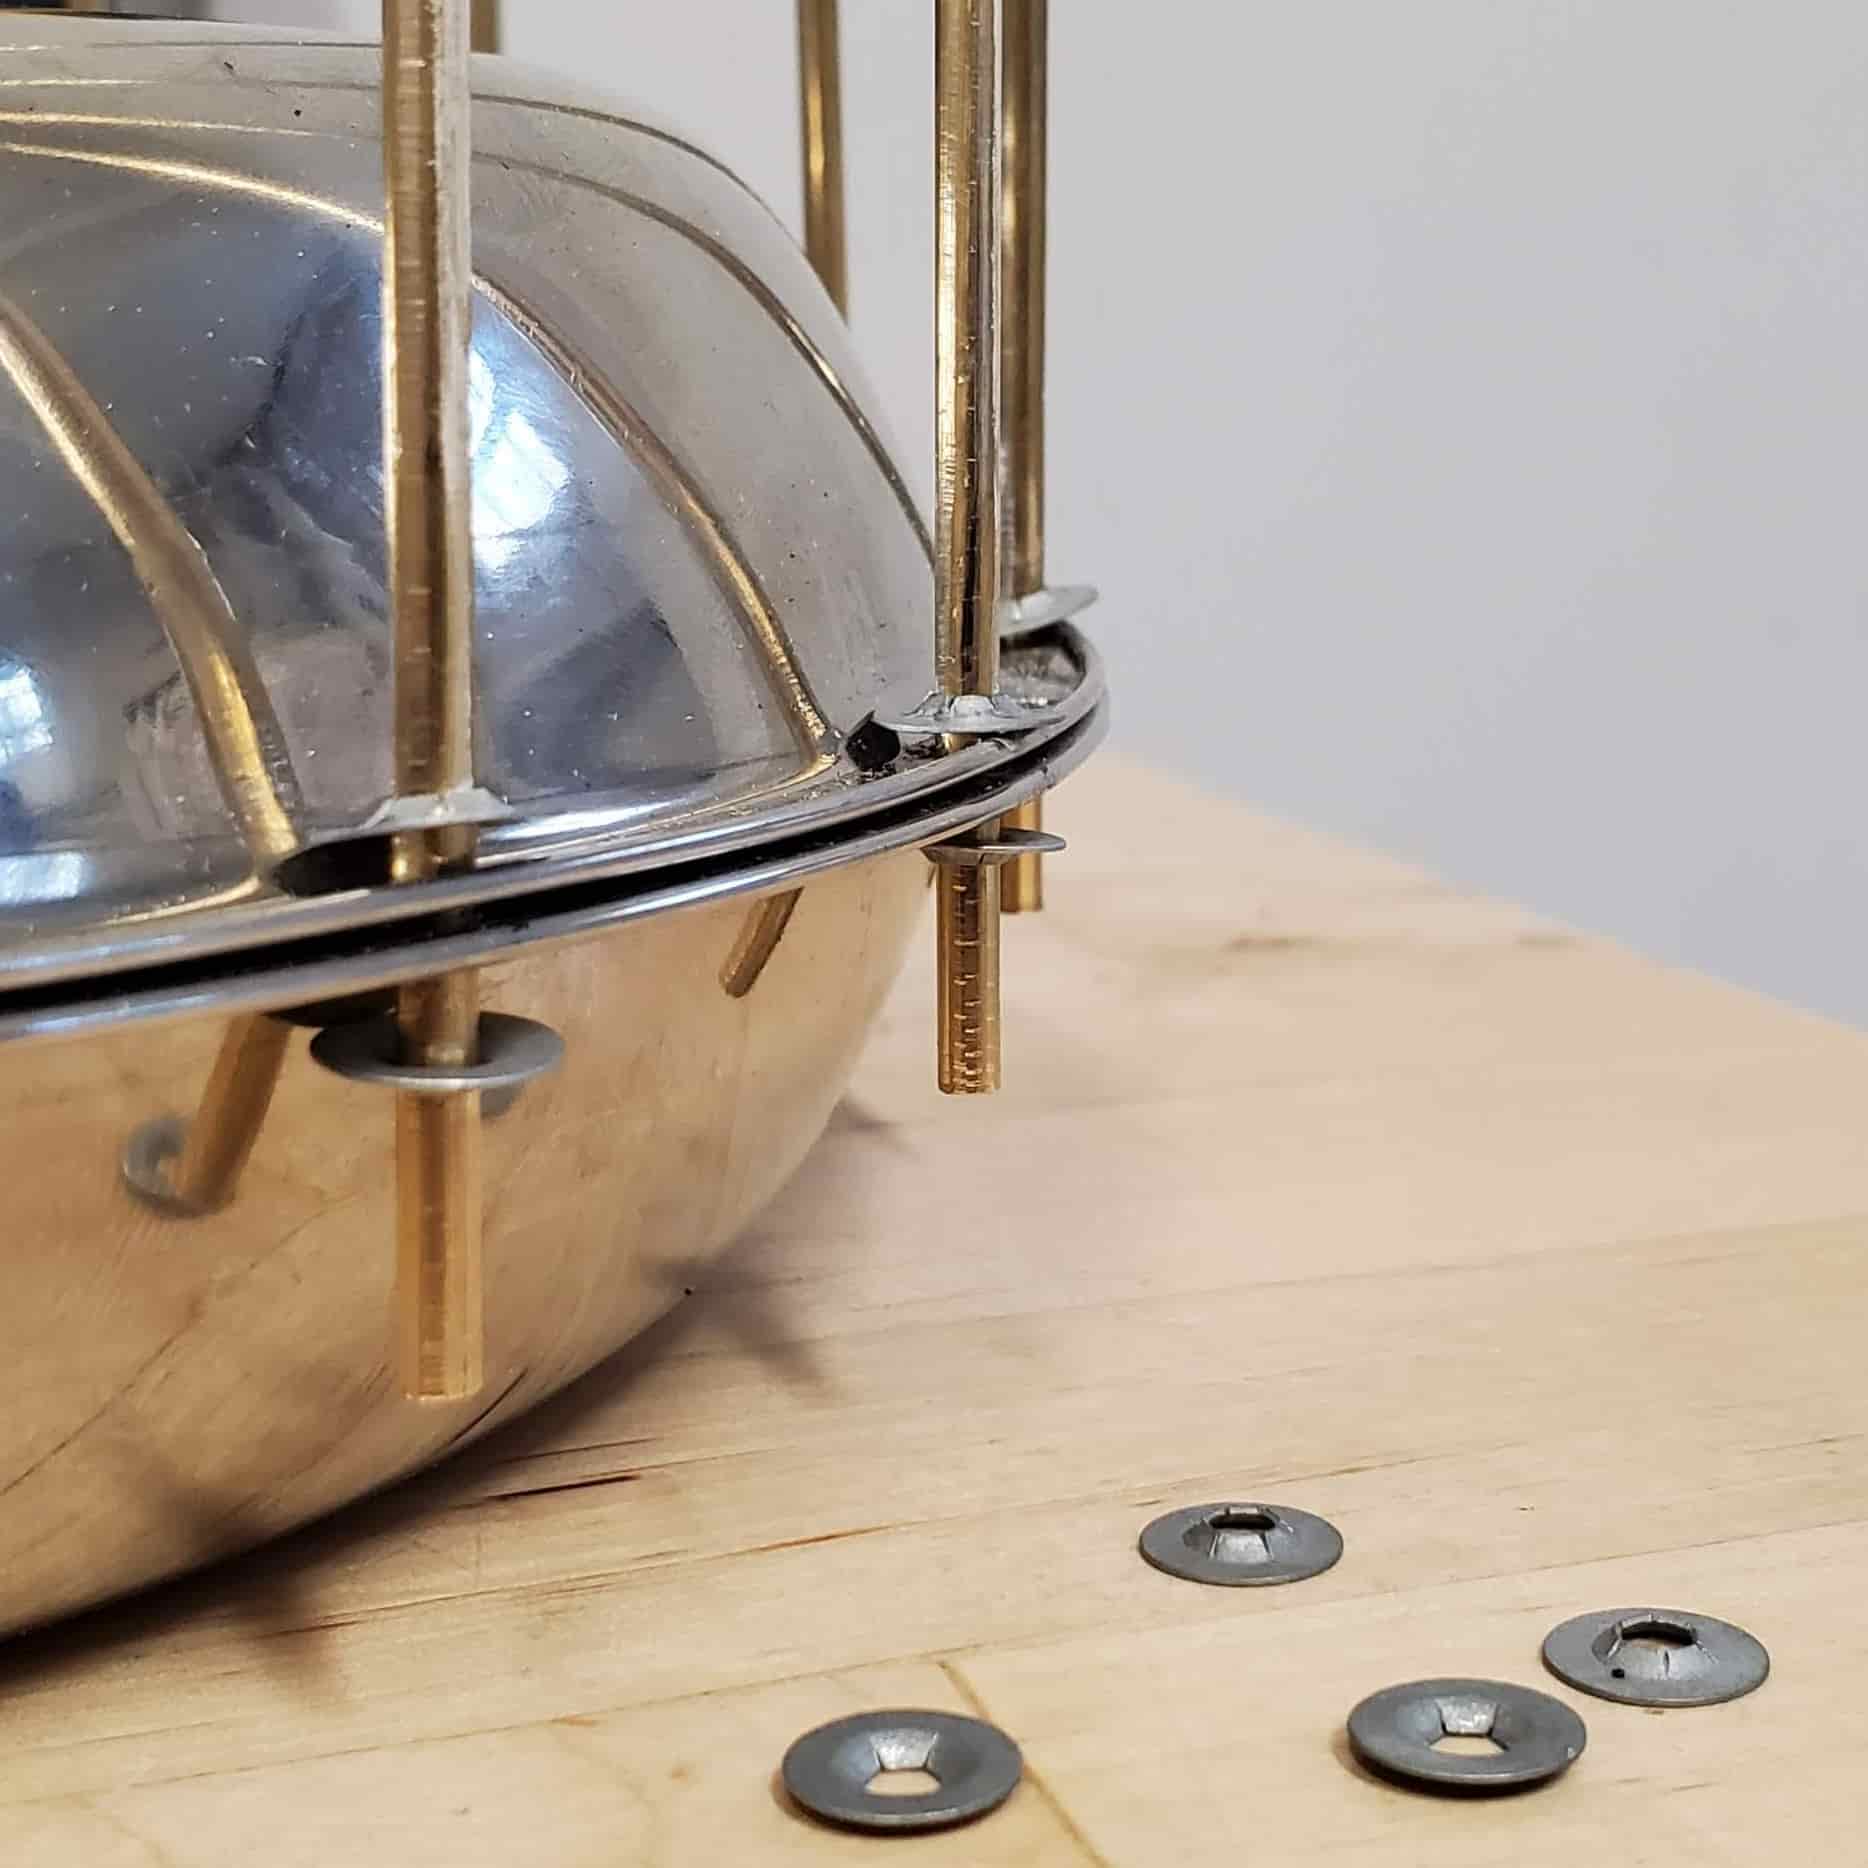
I realized that push nuts were well-suited to my fastening problem. They were very compact and I wouldn’t have to modify the brass rods to work with them. If I hammered the push nuts up against the pan with sufficient force, they would keep the rod securely attached to the pans. The clamping force of the push nuts also served to clamp the two pans together. Water could slowly leak through the seam if the instrument was held sideways, but this was not an issue because the pan never needed to tile much to make its sounds.
Finally, I attached the handle to the waterphone using a combination of sheet metal strips, screws, and a hose clamp.
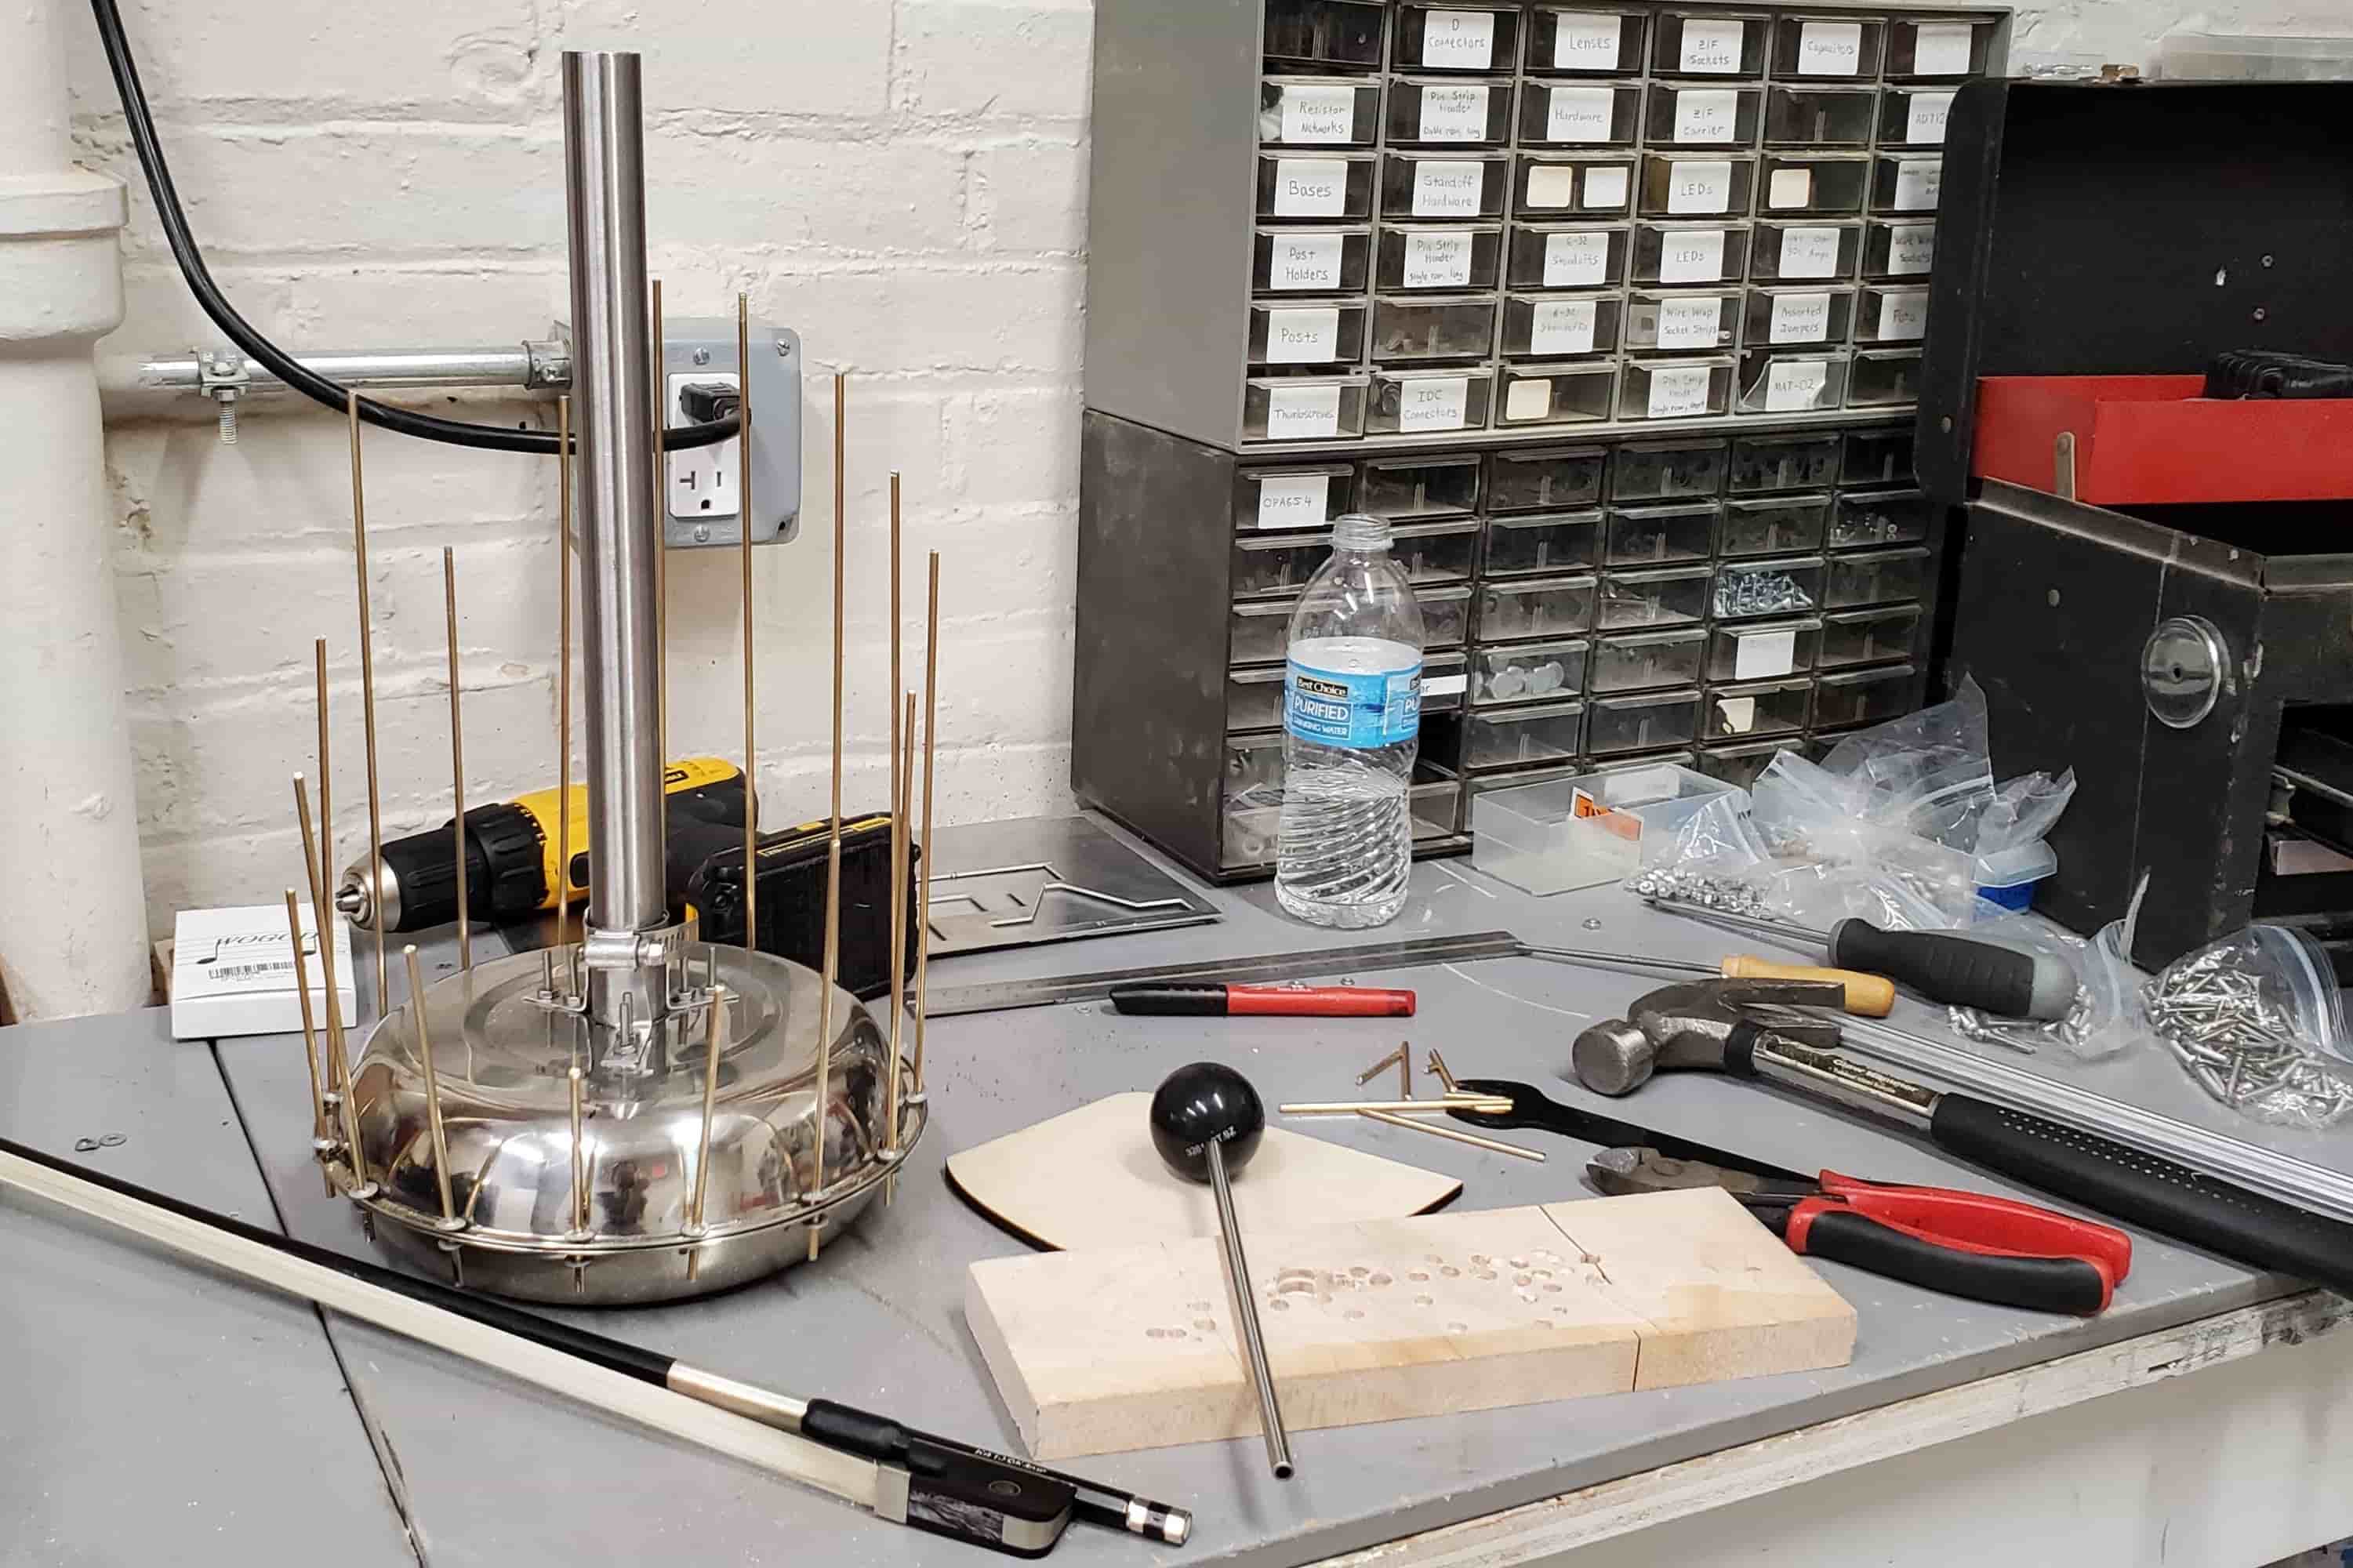
Once the instrument was complete, I was able to experiment with different sounds. It turned out that I could make the same rod produce radically different sounds based on changing the location on the rod, the pressure, and the speed at which I rubbed a violin bow over it.

Overall, I was pleased with how the instrument turned out, especially given my limited tools and time. However, when comparing my instrument’s sound to the sound of other waterphones, I noticed that other waterphones produced a longer reverb and a “fuller” sound. Additionally, unlike videos of other waterphones, I was not able to produce sounds I thought were interesting by using a rubber mallet instead of a violin bow. To improve the sound quality of my waterphone, I could emulate what I saw in those waterphones by using thicker brass rods (¼” instead of ⅛” diameter) and a larger, flatter pan. I believe the increased diameter would increase the reverb time and the larger, flatter pan would provide finer control over the sound by providing finer control over how the water is distributed in the pan. Additionally, instead of push nuts, I could have tried soldering brass screws to the ends of the brass rods and securing the screws to the resonating chamber using nuts.