Curta Calculator
Aug 2024 - Feb 2025
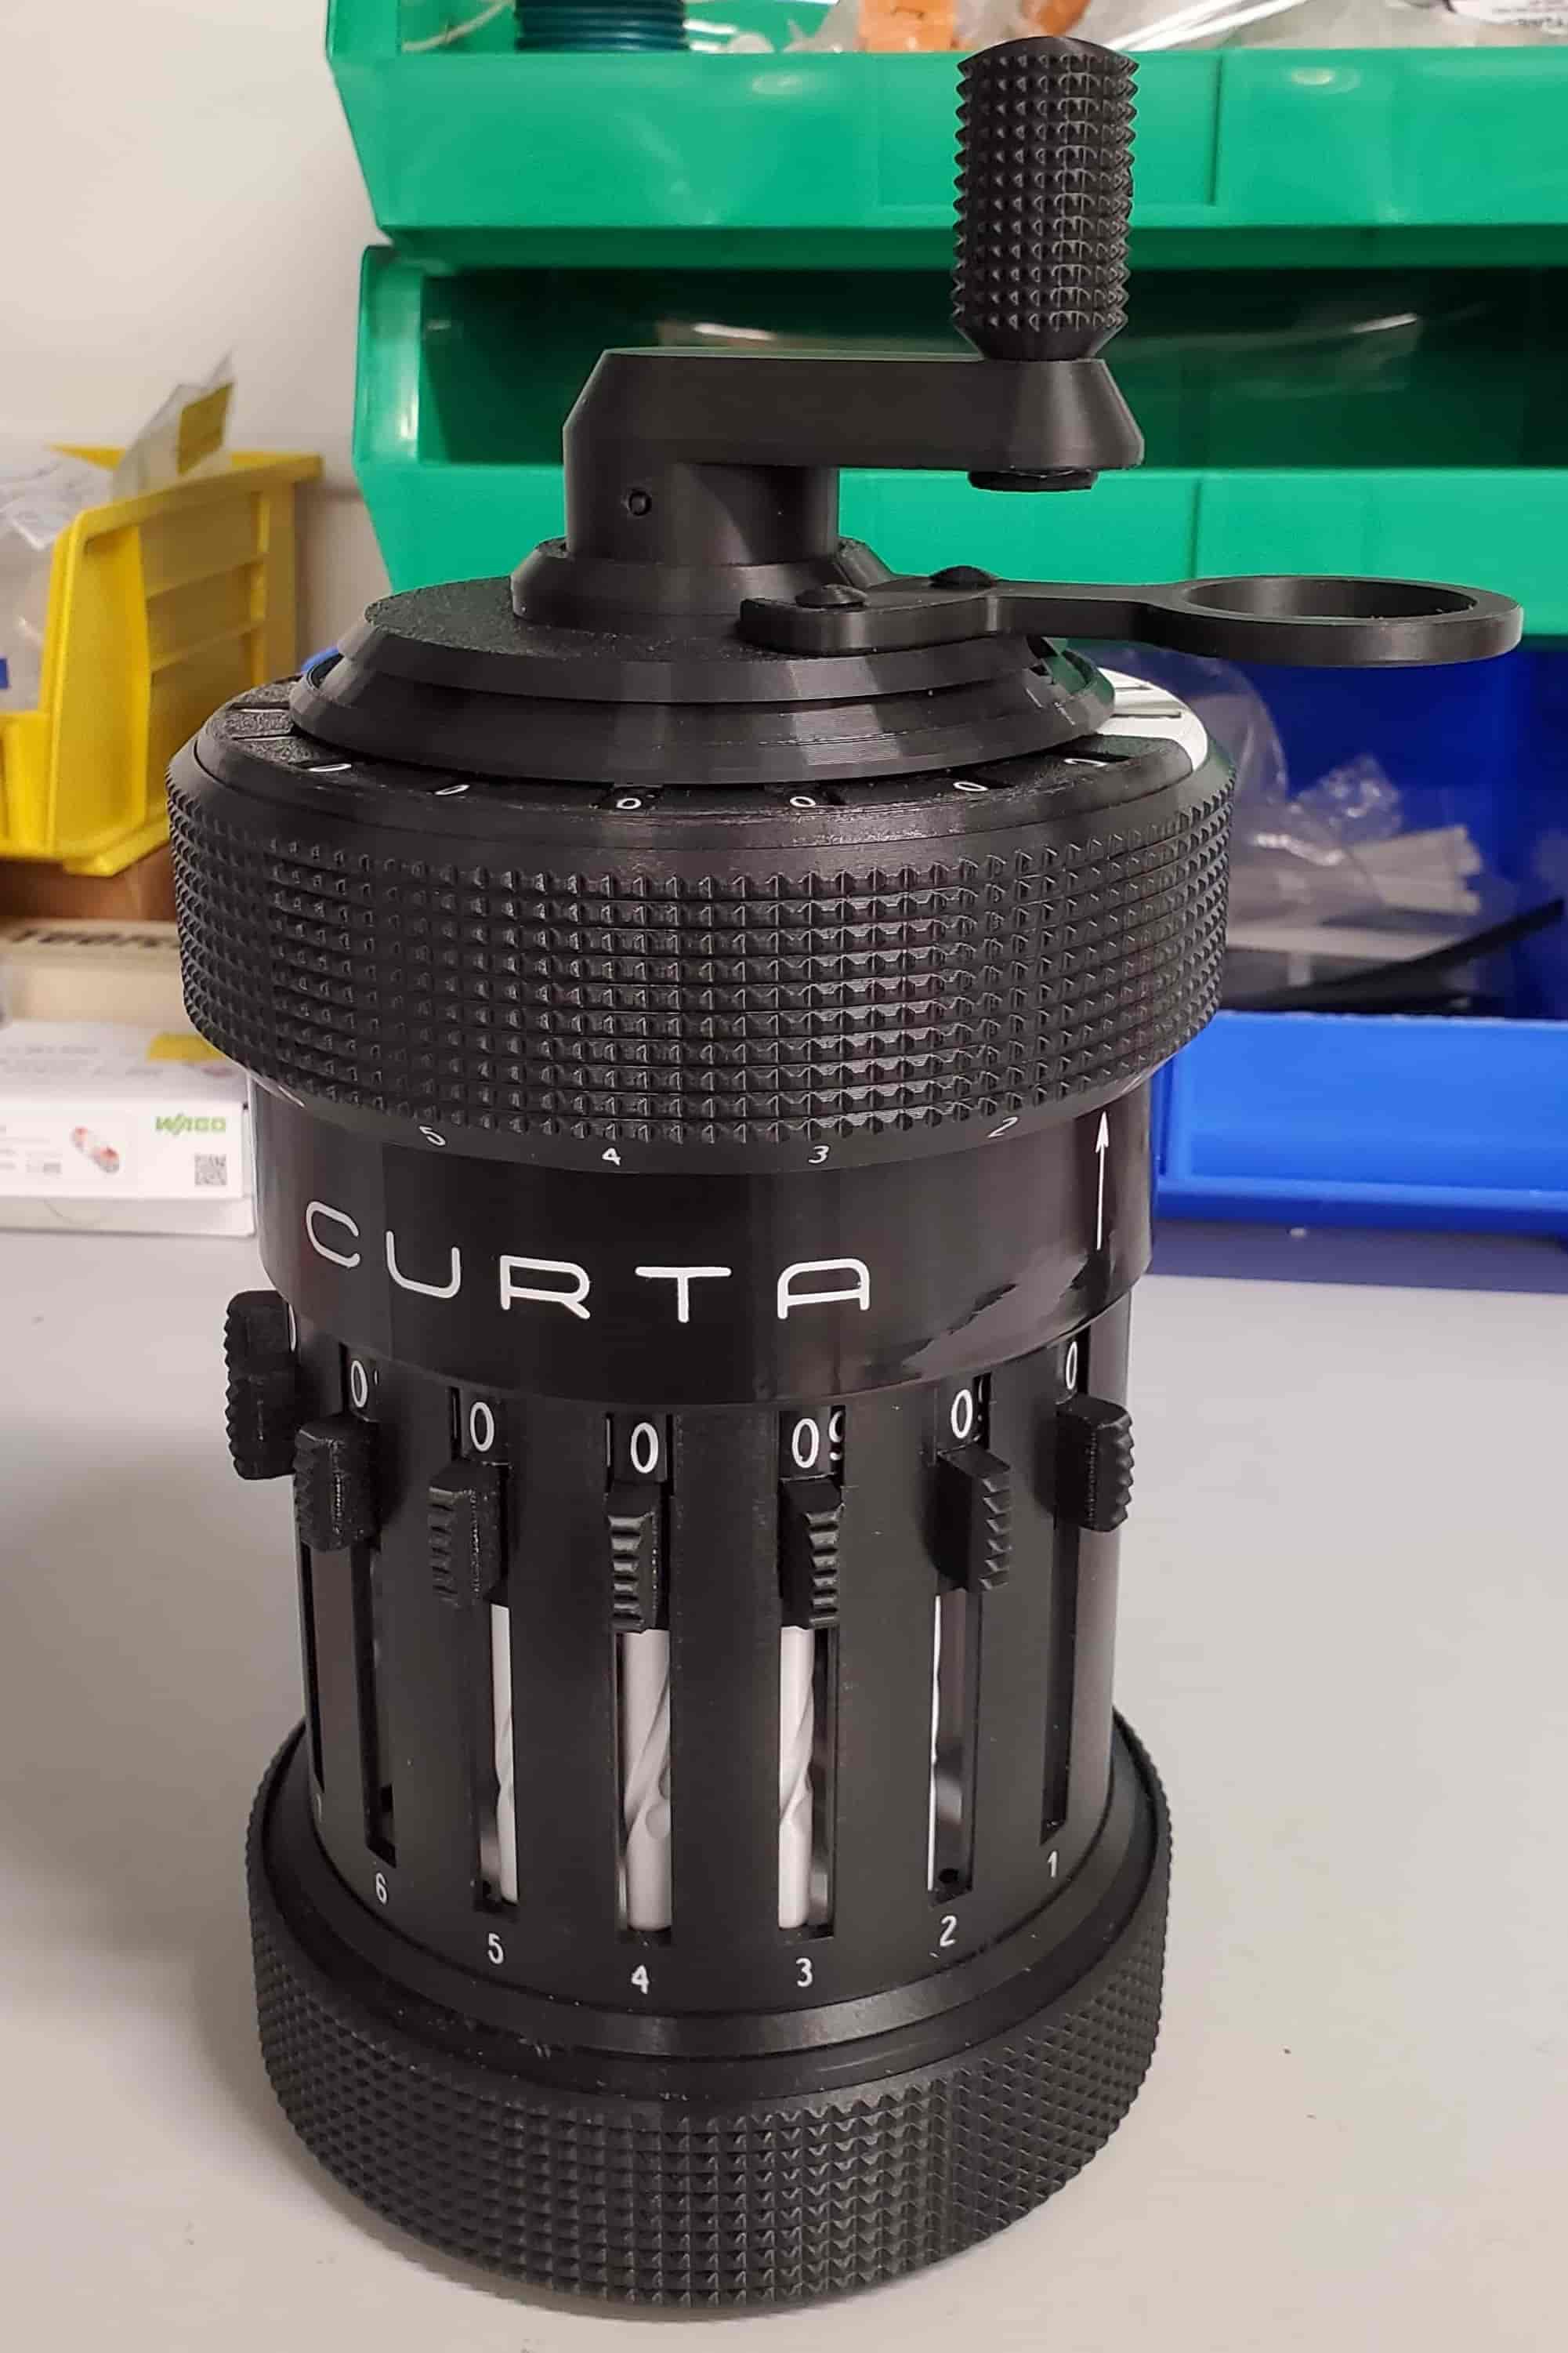
This project is unusual because unlike my other large projects, most of the design had already been done by someone else. However, as somebody who’s trying to build a fully mechanical computer and enjoys learning from elegant designs, I thought it made sense to take on this project.
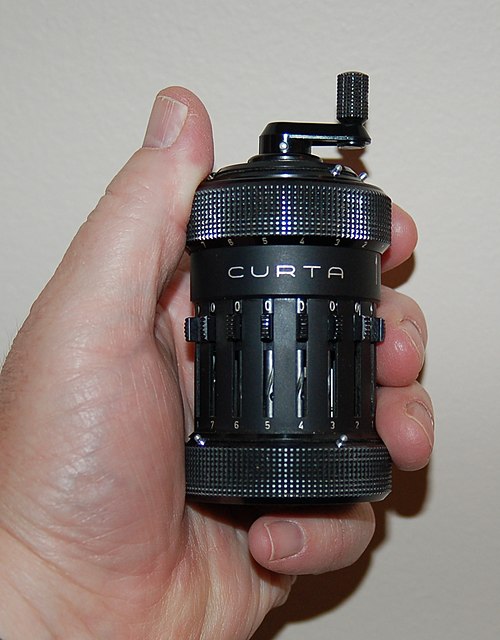
Some background: the Curta calculator is a mechanical calculator small enough to fit in the palm of a hand. Curt Hertzstark developed the idea in the 1930s and, after enduring imprisonment at a Nazi concentration camp, commercialized and sold his invention until it was rendered obsolete by electronic calculators in the 1970s. The Curta is capable of directly performing addition and subtraction. Because of its ability to shift the decimal point of its output, it is also able to perform multiplication using a shift-and-add strategy and division using a shift-and-subtract strategy. Here is an excellent YouTube video explaining how it works.
One of the most striking things about the calculator to me is how simple it is. Most mechanical calculators are notoriously large and complex, but the Curta’s use of a single Leibniz stepped drum for all the digits and for both addition and subtraction massively simplified its design.
In 2017, Marcus Wu created an Onshape assembly (called “Curta Type I - 3x FDM 0.4 nozzle”) of the entire calculator based on the original engineering drawings and posted an Instructables explaining how to assemble it. Due to the limitations of 3D printing tolerances, he made his 3D printed Curta 3X the size of the original Curta, but it was fully functional.


Wu’s Onshape assembly was particularly useful to me as I attempted to make my own copy of the Curta. I made a copy of his assembly and ended up modifying or redesigning around 30 unique parts to make them more suitable for 3D printing (even when 3X the size, thin sheet metal can still be too thin for 3D printing), to work with the hardware that I had available, and to improve reliability. In particular, the trickiest part of the calculator was the carry mechanism. It uses a wire spring as a detent to keep itself in the correct position, but even a little too much friction prevents it from moving as much as it needs to during a carry operation. Because the wire springs needed to be custom made, it was difficult to make springs that had both the correct geometry and the right amount of spring force. As a result, I replaced the wire spring with a plastic cantilever, which was much more consistent with its position and detent force.
After creating the hardware for the calculator, I needed to add labels like the numbers on the input and output dials. I opted to use stencils and spray paint because I thought it would look nice and I wanted to get better at those skills. This proved to be surprisingly difficult. I tried using a Cricut cutter to cut stencils out of some generic vinyl, but it was difficult to fully cut out the small numbers. Additionally, after spray painting, the vinyl would begin peeling off as the paint was drying, causing paint to bleed under the vinyl. Fortunately, I experimented and found out that Cricut’s “flexible stencil film” avoided both problems. Additionally, I found out that the Rust-Oleum spray paint I was originally using kept wicking under the stencil because it was too watery, and McMaster’s “Marsh” stencil spray paint was much more effective. The Marsh spray paint acted more like powder than liquid droplets, so it was better at sticking to whatever surface it landed on rather than wicking into the surrounding areas. After the stenciled labels dried, I spray painted a layer of clear coat over them to protect them.
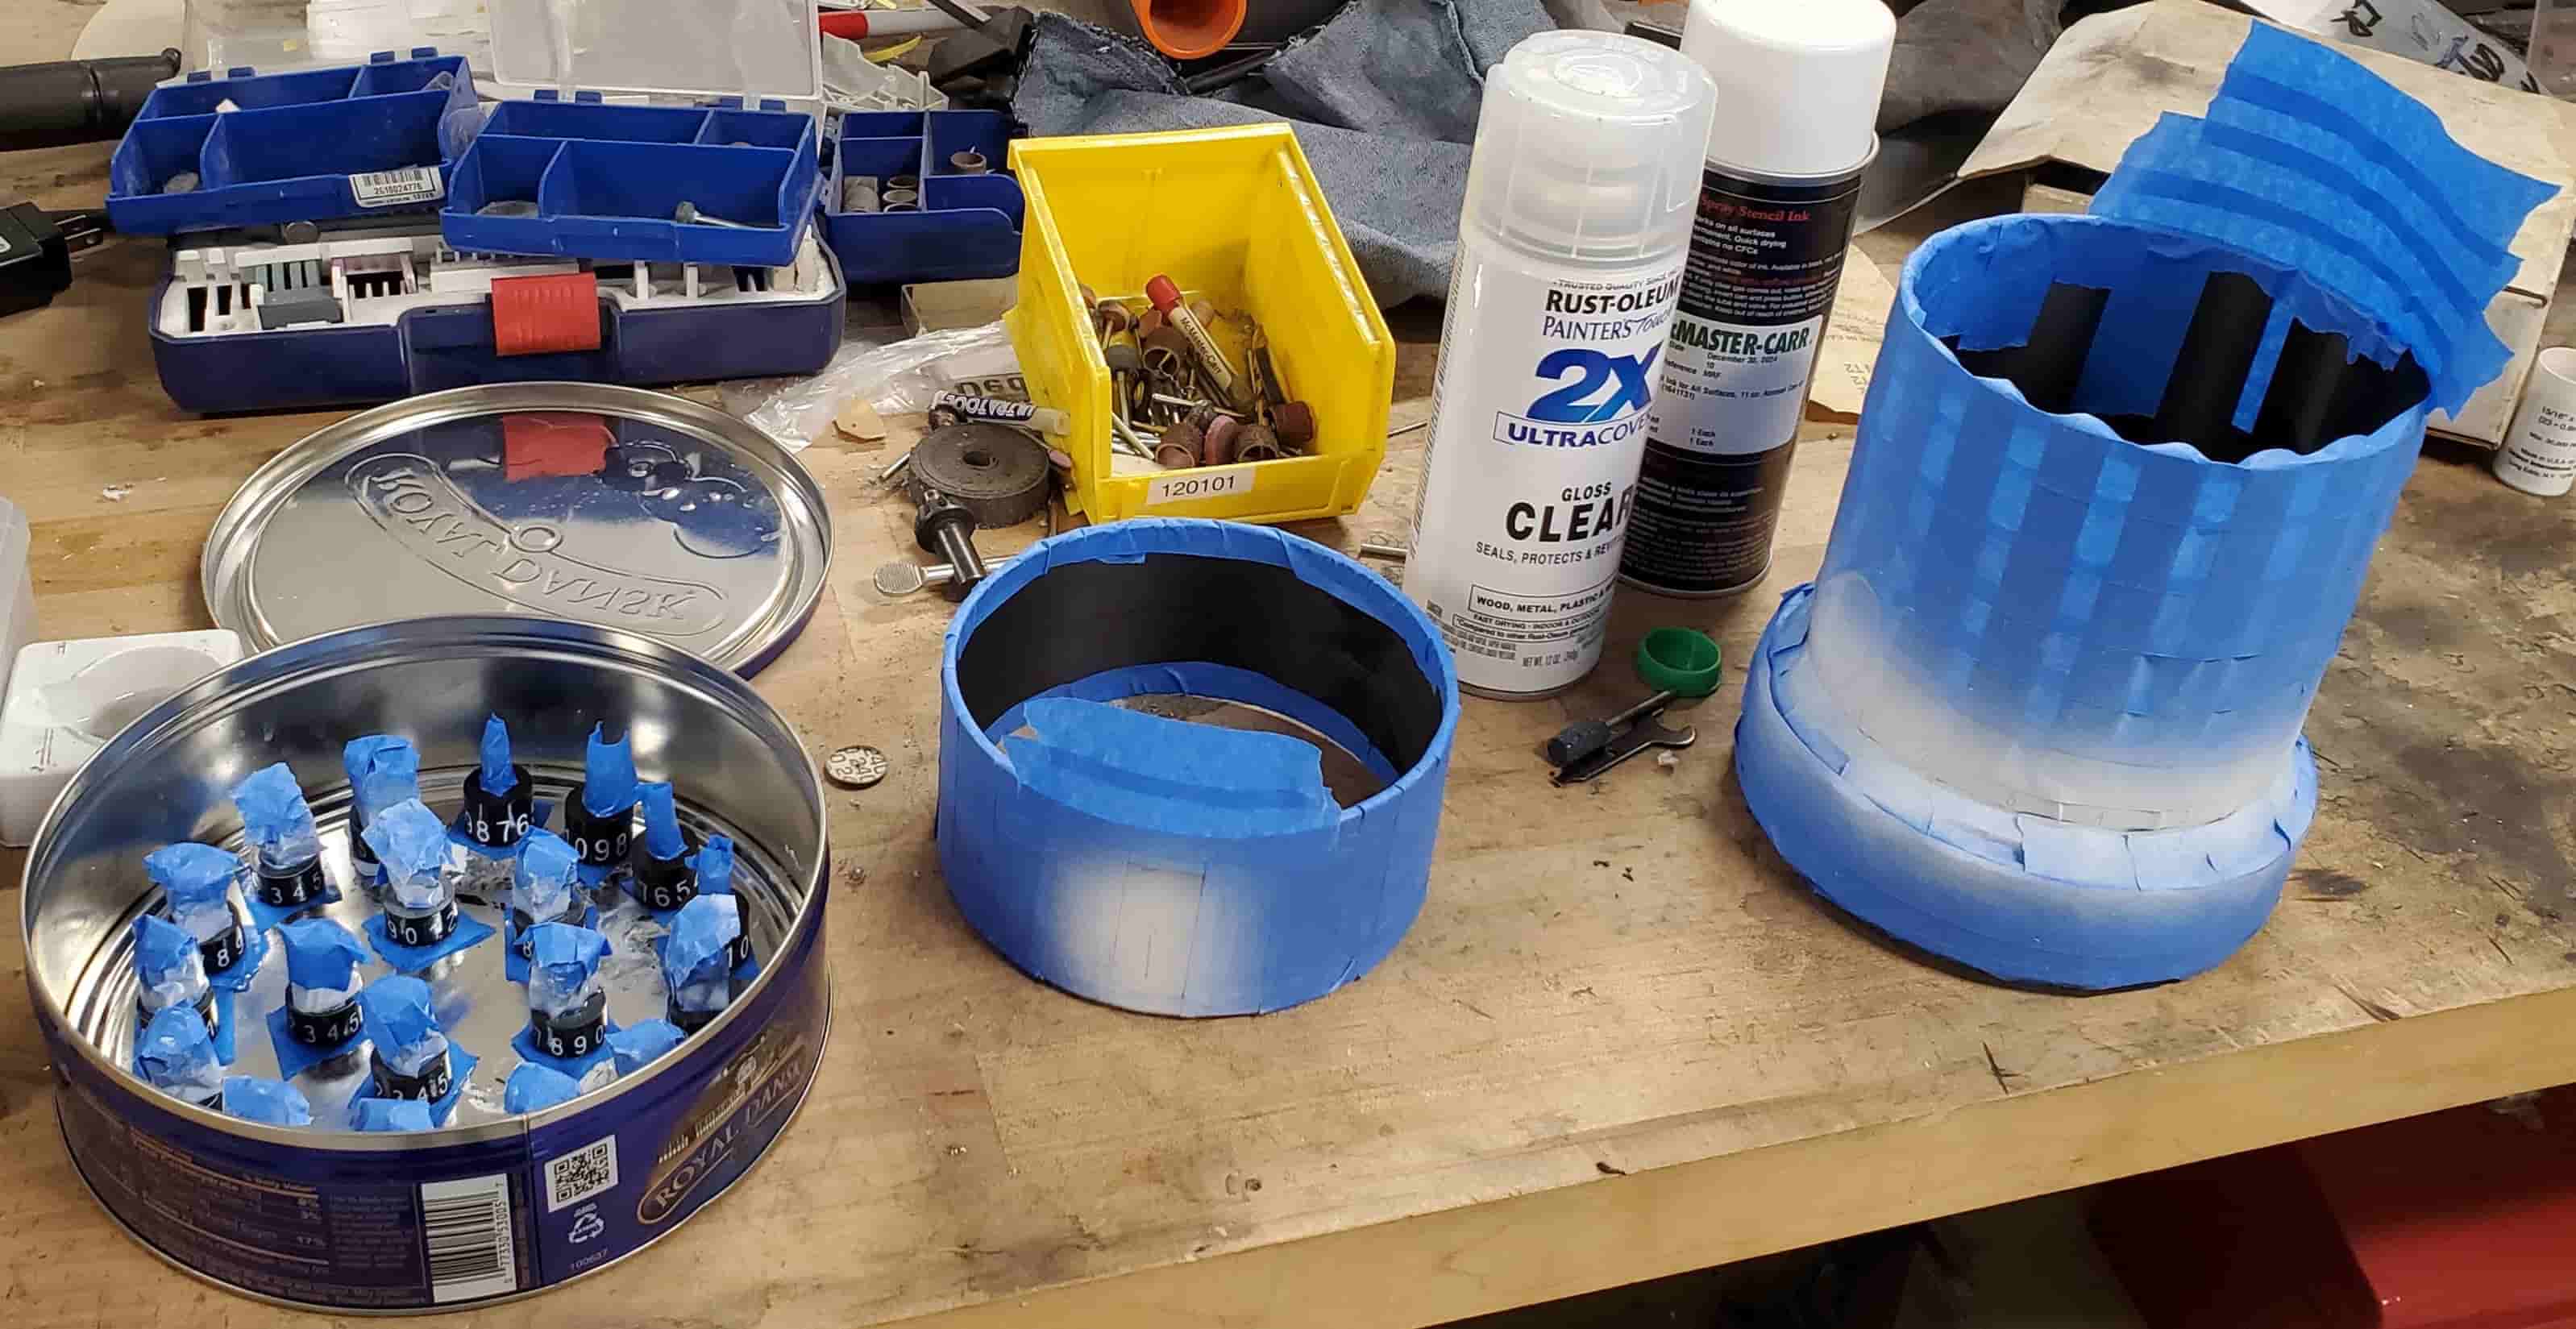
Creating all the stencils and spray painting everything was truly a labor of love. I spent a lot more time than I expected doing this—likely over 20 hours. It is true that the amount I learned from this activity compared to the amount of time I spent on it was lower than I would have liked. But I thought a mechanical device like this, which had so much history and elegant engineering behind it, needed to be decorated accordingly.
Here I show the Curta performing repeated addition of the number 25. Its design makes it well suited to adding the same number over and over again (such as during multiplication) since the calculator’s input digits don’t change during addition.
Here I show the Curta performing 9463+7848 = 17311
Here I show the Curta performing 619-276 = 343. To perform subtraction, I lift the crank upward. Because of the structure of the stepped drum in the middle of the calculator, to the calculator this calculation looks like 619 plus the 10’s complement of 00000000276, (99999999999-00000000276+1 = 99999999724), which results in 619+99999999724 = 100000000343. The “1” is ignored because the calculator only displays the last 11 digits, so the calculator displays the correct answer of 343.
Here I show the Curta performing 389*52 = 20228 using a shift and add strategy. The numbers displayed in the white section of the digits cover are the counter digits, and they indicate that while multiplying the input by 52, I rotated the crank 5 times while the results carriage was in the 10s position and 2 times while the results carriage was in the 1s position.
I lay the calculator on its side because the calculator had a tendency to jam up when upright during division operations. The steps are as follows: put the dividend 2456 into the results dial, put the divisor 53 into the input, clear the counter dials, shift the results carriage into the tens position, switch the counter to increment mode by pushing the reversing lever knob down (the counter typically decrements during subtraction operations), switch to subtraction mode by lifting the crank upwards, and then perform a subtract and shift strategy, shifting whenever the remainder becomes less than the divisor. The quotient 46 is displayed in the counter dials and the remainder is displayed in the results dials.
Please note that these next few videos aren’t meant to fully explain the operation of the calculator because that is already done very well by the YouTube video linked near the top of this page. But I hope that showing the physical calculator in action will supplement the information presented in the YouTube video.
The Curta has a spring-loaded wheel that falls into the “home” position of a disk that rotates with the crank. This helps the user avoid under or over rotating the crank. Additionally, the disk has a toothed layer that engages a ratchet pawl. This ensures the user cannot rotate the crank in the wrong direction.
- Moving the selector knob up and down spins the selector shaft and the dial because of the shaft’s helical groove.
- The selector knob causes an input gear (white) further inside the calculator to move up and down with it (without constraining the input gear’s ability to rotate). This allows the input gear to engage different levels of the stepped drum (black) in the middle of the calculator.
- The stepped drum is rotated by rotating the crank at the top of the calculator.
- The rotation of the input gear drives the results dial, so engaging levels of the stepped drum that have more teeth will cause the results dial to spin more when the crank of the calculator is turned.
- If a results dial spins beyond “9,” it forces a carry slider (white component located near the top outside of the calculator) to slide down. This causes a carry gear (white) on the shaft of the results dial of the next digit (a typical shaft contains both an input gear and a carry gear) to slide down into the path of a single tooth that, like the stepped drum, rotates with the crank. As a result, that dial will rotate by one extra digit.
- Subtraction is performed by adding the tens complement of the subtracting number. The calculator can be switched to subtraction mode by lifting the crank. Lifting the crank also lifts the stepped drum, which causes a different number of teeth on the stepped drum to engage the input gear. Specifically, every input gear will see 9 minus however many teeth it saw during addition with the exception of the input gear in the ones position, which will see one extra tooth compared to the rest of the input gears.